
In this blog post, I’m going to teach you basics of AWS IoT and using it to collect data from microcontrollers. I’m using ESP32 since it’s low-cost, energy-efficient and comes with some very interesting hardware features.
Required knowledge
To fully enjoy this blog post, you need to have some understanding of microcontrollers, Internet of Things and knowledge of the C programming language along with AWS experience.
Additionally, you should be familiar with Linux/Unix command line and the CMake build tool.
Required hardware and software
The setup is rather simple. We need a ESP32-based device, a computer, and a text editor/IDE of your choice.
In my case, I’m using the following combination of hardware and software:
- M5Stack - a ESP32 development kit in a tiny box form factor
- MacBook Pro 15 running Mac OS Catalina 10.15.1
- Visual Studio Code with the **C/C++ Extension **installed
Before we begin
As you may know, there are several options when it comes to connecting a ESP32 device to the AWS IoT:
- SDK-based. In this case, your program uses AWS IoT SDK and MQTT to connect to AWS IoT
- Using Amazon version of FreeRTOS. It’s a FreeRTOS flavour maintained by AWS with some AWS-specific features, like device provisioning.In this blog post, we are going with the SDK-based route, mainly to demonstrate how easily it’s possible to use benefits of AWS IoT in existing projects. Besides it, ESP-IDF comes with the AWS IoT component which further simplifies connecting our device to the AWS IoT.
Because we are working with ESP32, we’ll be using ESP-IDF to create a firmware which connects to AWS. ESP-IDF(IoT Development Framework) is built on top of FreeRTOS with some additions, e.g. support of SMP(symmetric multiprocessing).
Setting up ESP-IDF
You need to follow the official documentation to make sure all needed tools are installed. Here is the short version for Mac OS X.
Install XCode Command Line Tools:
xcode-select --installInstall pip and pyserial:
sudo easy_install pippip install --user pyserialThen install CMake and Ninja:
brew install cmake ninjaPrepare a directory and install ESP-IDF:
mkdir ~/espcd ~/espgit clone --recursive https://github.com/espressif/esp-idf.gitcd ~/esp/esp-idf./install.shAdd the following line to your .profile, .bash_profile_ or .zshrc:
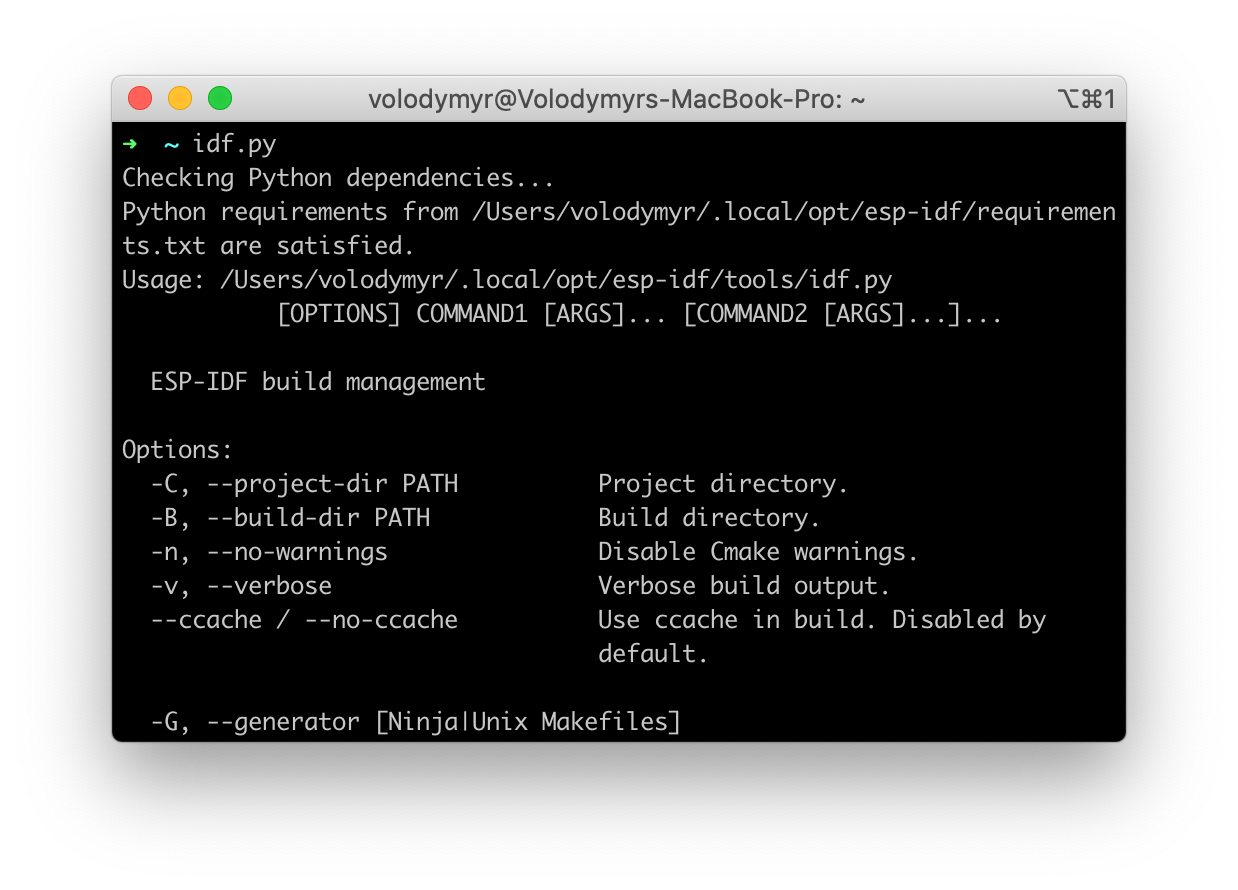
export IDF_PATH=$HOME/esp/esp_idf. $HOME/esp/esp-idf/export.shFinally, restart the terminal and run the idf.py command to see if everything works as expected. You should get an output like this:
Creating a project skeleton
The fastest way to create a skeleton project for ESP-IDF is to use one of the examples as a template. All examples are located in the $IDF_PATH/examples. We are going to use the “hello_world” project.
Let’s assume you want to create a project in your home directory. Then you’ll need to copy the example using the following command:
cp -r $IDF_PATH/examples/get-started/hello_world ~/esp-aws-iotcd ~/esp-aws-iotI propose to take a minute and make some changes to the project, so it’s not the “hello_world” anymore, but our very own “esp-aws-iot” project. To do so, update CMakeLists.txt in the project root with the following contents:
cmake_minimum_required(VERSION 3.5)
include($ENV{IDF_PATH}/tools/cmake/project.cmake)project(esp-aws-iot)
The project name should be also updated in the Makefile:
PROJECT_NAME := esp-aws-iot
include $(IDF_PATH)/make/project.mk
Then let’s also rename “hello_world_main.c” to “main.c”:
mv main/hello\_world\_main.c main/main.cFinally, we need to update main/CMakeLists.txt to reflect the renamed file:
idf_component_register(SRCS "main.c" INCLUDE_DIRS "")Now it’s time to configure our project:
idf.py menuconfigYou will see the configuration menu similar to the screenshot below:
 For our initial firmware, don’t modify anything and just exit the configuration. A default configuration will be written to the sdkconfig file in the project root.
Execute the idf.py build in the root directory of your project to build it. It will take a while, so you can grab a coffee while it’s building.
Uploading the first firmware
Before flashing the firmware, you need to find out the serial port of the device. Plug the device into your PC/laptop and check to which port it’s attached. In my case, it’s /dev/cu.SLAB_USBtoUART
Once you now the port, the firmware can be uploaded to the device using this command:
idf.py -p <your-port> flashThe flashing takes several seconds to complete and produces an output like this:
 To verify the ESP32 is running our program, use the idf.py -P
  At this point we configured all the needed tools and made sure we can flash the device. Let’s do something more exciting.
Establishing an Internet Connection
To establish an Internet connection using ESP32 we need to perform three steps:
- Initialize ESP-IDF TCP/IP stack
- Initialize ESP-IDF Wi-Fi driver in a station mode
- Connect to a Wi-Fi network
For the sake of simplicity, we will be connecting to a Wi-Fi network set during the configuration/build of the application. This is the approach suggested in the “Getting Started” example for ESP-IDF Wi-Fi applications.
To create a custom configuration section, let’s add a file main/Kconfig.projbuild with the following contents:
 menu "ESP AWS IoT Example Configuration"
    config ESP_WIFI_SSID        string "WiFi SSID"        default "myssid"        help            SSID (network name) for the example to connect to.
    config ESP_WIFI_PASSWORD        string "WiFi Password"        default "mypassword"        help            WiFi password (WPA or WPA2) for the example to use.
    config ESP_MAXIMUM_RETRY        int "Maximum retry"        default 5        help            Set the Maximum retry to avoid station reconnecting to the AP unlimited when the AP is really inexistent. endmenu
Then after running the idf.py menuconfig you will see a new configuration section(you may need to scroll down):
 Values provided in this configuration section can be accessed in the source code by using corresponding definitions. For example:
printf("Configured Wi-Fi SSID is %s\n", CONFIG_ESP_WIFI_SSID);So the original configuration name is prepended with “CONFIG_” and can be used anywhere in your source code.
Important: Besides configuring SSID and password, please also disable “WiFi NVS Flash” in the “Component -> Wi-Fi” section. We are not going to use it for now and it will make the code example simpler.
Our first version of the Wi-Fi application will be really simple:
- Try to connect to a Wi-Fi network
- After a successful connection print a corresponding message to the serial port
- In a case if there were 5 failed attempts to connect print a corresponding error message to the serial port
We’ll need to have a simple event loop to properly handle Wi-Fi events. Here is the code example.
Application entry point function:
void app_main() { printf("Configured Wi-Fi SSID is %s\n", CONFIG_ESP_WIFI_SSID); init_wifi(); }Wi-Fi initialisation code:
 void init_wifi() {    s_app_event_group = xEventGroupCreate();    tcpip_adapter_init();
    ESP_ERROR_CHECK(esp_event_loop_create_default());
    wifi_init_config_t cfg = WIFI_INIT_CONFIG_DEFAULT();    ESP_ERROR_CHECK(esp_wifi_init(&cfg));
    ESP_ERROR_CHECK(esp_event_handler_register(WIFI_EVENT, ESP_EVENT_ANY_ID, &event_handler, NULL));    ESP_ERROR_CHECK(esp_event_handler_register(IP_EVENT, IP_EVENT_STA_GOT_IP, &event_handler, NULL));
    wifi_config_t wifi_config = {            .sta = {                .ssid = CONFIG_ESP_WIFI_SSID,                .password = CONFIG_ESP_WIFI_PASSWORD            },    };
    ESP_ERROR_CHECK(esp_wifi_set_mode(WIFI_MODE_STA) );    ESP_ERROR_CHECK(esp_wifi_set_config(ESP_IF_WIFI_STA, &wifi_config) );    ESP_ERROR_CHECK(esp_wifi_start() );
    EventBits_t bits = xEventGroupWaitBits(s_app_event_group,                WIFI_CONNECTED_BIT | WIFI_FAIL_BIT,                pdFALSE,                pdFALSE,                portMAX_DELAY);
    if (bits & WIFI_CONNECTED_BIT) {        printf("Connection established\n");    } else if (bits & WIFI_FAIL_BIT) {        printf("Failed to connect to a Wi-Fi\n");    }
    ESP_ERROR_CHECK(esp_event_handler_unregister(IP_EVENT, IP_EVENT_STA_GOT_IP, &event_handler));    ESP_ERROR_CHECK(esp_event_handler_unregister(WIFI_EVENT, ESP_EVENT_ANY_ID, &event_handler));    vEventGroupDelete(s_app_event_group); }
Event handler code:
static void event_handler(void* arg, esp_event_base_t event_base, int32_t event_id, void* event_data) { if (event_base == WIFI_EVENT && event_id == WIFI_EVENT_STA_START) { esp_wifi_connect(); } else if (event_base == WIFI_EVENT && event_id == WIFI_EVENT_STA_DISCONNECTED) { if (s_retries_count < CONFIG_ESP_MAXIMUM_RETRY) { esp_wifi_connect(); s_retries_count++; } else { xEventGroupSetBits(s_app_event_group, WIFI_FAIL_BIT); } } else if (event_base == IP_EVENT && event_id == IP_EVENT_STA_GOT_IP) { ip_event_got_ip_t* event = (ip_event_got_ip_t*) event_data; s_retries_count = 0; xEventGroupSetBits(s_app_event_group, WIFI_CONNECTED_BIT); } }If the connection is established, an output like this will appear in the serial port monitor:
I (3054) tcpip_adapter: sta ip: 192.168.0.110, mask: 255.255.255.0, gw: 192.168.0.1Connection establishedThe next step is to connect our application to AWS IoT.
Connecting to AWS IoT
Let’s quickly revise the way interaction between IoT device and the AWS IoT Core happens. Each physical device has a corresponding representation in the AWS IoT service called “Thing”. The actual device connects to AWS IoT endpoint using the MQTT protocol and TLS certificates.
CREATING AWS IOT THING AND CERTIFICATES PROVISIONING
In our case we are going to use a single thing provisioning and certificate generation using AWS IoT console. This is acceptable for development purposes, but is not scalable enough for a production use. The process is rather straightforward. First, go to the Internet of Things section and select the IoT Core item:
 Then click the “Create” button in the “Manage” section of the IoT Core Console. Use the “Create a single thing” option:
 On the certificate creation step, choose the “One-click certification creation”:
 Once certificates are created, download all three files(it won’t be possible to do it later!) and click the “Activate” button before proceeding to the final step.
We’ll leave the certificate without a policy for now. Once the thing is added, it will be displayed in the console:
 After the certificate is created, we can add a new policy. Here is a policy template:
 {   "Version": "2012-10-17",   "Statement": [{         "Effect": "Allow",         "Action": "iot:Connect",         "Resource": "arn:aws:iot:<region>:<account>:client/ESP-AWS-IoT-Demo"      },      {         "Effect": "Allow",         "Action": "iot:Publish",         "Resource": [            "arn:aws:iot:<region>:<account>:topic/$aws/things/ESP-AWS-IoT-Demo/shadow/update",            "arn:aws:iot:<region>:<account>:topic/$aws/things/ESP-AWS-IoT-Demo/shadow/delete",            "arn:aws:iot:<region>:<account>:topic/$aws/things/ESP-AWS-IoT-Demo/shadow/get"         ]      },      {         "Effect": "Allow",         "Action": "iot:Receive",         "Resource": [            "arn:aws:iot:<region>:<account>:topic/$aws/things/ESP-AWS-IoT-Demo/shadow/update/accepted",            "arn:aws:iot:<region>:<account>:topic/$aws/things/ESP-AWS-IoT-Demo/shadow/delete/accepted",            "arn:aws:iot:<region>:<account>:topic/$aws/things/ESP-AWS-IoT-Demo/shadow/get/accepted",            "arn:aws:iot:<region>:<account>:topic/$aws/things/ESP-AWS-IoT-Demo/shadow/update/rejected",            "arn:aws:iot:<region>:<account>:topic/$aws/things/ESP-AWS-IoT-Demo/shadow/delete/rejected"        ]      },      {         "Effect": "Allow",         "Action": "iot:Subscribe",         "Resource": [            "arn:aws:iot:<region>:<account>:topicfilter/$aws/things/ESP-AWS-IoT-Demo/shadow/update/accepted",            "arn:aws:iot:<region>:<account>:topicfilter/$aws/things/ESP-AWS-IoT-Demo/shadow/delete/accepted",            "arn:aws:iot:<region>:<account>:topicfilter/$aws/things/ESP-AWS-IoT-Demo/shadow/get/accepted",            "arn:aws:iot:<region>:<account>:topicfilter/$aws/things/ESP-AWS-IoT-Demo/shadow/update/rejected",            "arn:aws:iot:<region>:<account>:topicfilter/$aws/things/ESP-AWS-IoT-Demo/shadow/delete/rejected"         ]      },      {         "Effect": "Allow",         "Action": [            "iot:GetThingShadow",            "iot:UpdateThingShadow",            "iot:DeleteThingShadow"         ],         "Resource": "arn:aws:iot:<region>:<account>:thing/ESP-AWS-IoT-Demo"
      }   ] }
Replace
This is it for the AWS IoT side, let’s continue with the ESP-IDF.
CONFIGURING ESP-IDF
First, let’s add AWS IoT component to ESP-IDF. To do so, create a “components” directory in the root of your project and execute the following commands:
cd componentsgit clone --recursive https://github.com/espressif/esp-aws-iotcd ..AWS IoT Thing certificate, private and public keys should be placed in the main/certs directory.** Be sure to exclude this directory from a version control and never share your private keys with anyone!**
I used the following naming convention:
- root-ca.pem - Amazon Root CA. Need to ensure whatever endpoint we are going to use is a real AWS IoT endpoint and is not provided by some impostor.
- private.pem.key - private key
- public.pem.key - public
To embed certificate into the device, main/CMakeLists.txt should be extended with these lines:
target_add_binary_data(${COMPONENT_TARGET} "certs/root-ca.pem" TEXT)target_add_binary_data(${COMPONENT_TARGET} "certs/certificate.pem.crt" TEXT)target_add_binary_data(${COMPONENT_TARGET} "certs/private.pem.key" TEXT)Add two new configuration options to the main/Kconfig.projbuild file:
    config AWS_IOT_THING_NAME        string "AWS IoT Thing Name"        default "ESP-AWS-IoT-Demo"        help            AWS IoT Thing Name
    config AWS_IOT_CLIENT_ID        string "AWS IoT Client ID"        default "ESP32-CLIENT"        help            AWS IoT Client Name
Let’s configure AWS IoT related options. Run idf.py menuconfig and go to the “Component Config -> Amazon Web Services IoT Platform” section. An AWS IoT endpoint should be set. To get the information about the endpoint, open the AWS IoT Core Console, select your thing and check the endpoint located in the “Interact” section of the thing.
Once done, return to the main configuration section, proceed to our “ESP AWS IoT Example Configuration” section and specify the AWS IoT thing name there.
CONNECTING TO THE AWS IOT
The connection to AWS IoT is very straightforward. Here is a relevant code fragment:
rc = aws_iot_shadow_init(&mqttClient, &shadowParameters); if(SUCCESS != rc) { ESP_LOGE(TAG, "aws_iot_shadow_init returned error %d, aborting...", rc); abort(); }The same is for connecting to the thing shadow:
ShadowConnectParameters_t scp = ShadowConnectParametersDefault;scp.pMyThingName = CONFIG_AWS_IOT_THING_NAME;scp.pMqttClientId = CONFIG_AWS_IOT_CLIENT_ID;scp.mqttClientIdLen = (uint16_t) strlen(CONFIG_AWS_IOT_CLIENT_ID);
rc = aws_iot_shadow_connect(&mqttClient, &scp);if(SUCCESS != rc) {   ESP_LOGE(TAG, "aws_iot_shadow_connect returned error %d, aborting...", rc);   abort();}
In this demo we’ll update a field in the thing shadow called “demoField”. Before doing it, we need to prepare some JSON. As you may notice, working with JSON in C is somewhat…interesting:
jsonStruct_t demoField;demoField.cb = demoField_callback;demoField.pData = TAG;demoField.pKey = "demoField";demoField.type = SHADOW_JSON_STRING;demoField.dataLength = strlen(TAG);The value of the field is the same as the application logging tag. Adding this field to a resulting JSON document can be done using this code example:
rc = aws_iot_shadow_add_reported(JsonDocumentBuffer, sizeOfJsonDocumentBuffer, 1, &demoField);Conclusion
ESP32 is a great microcontroller that comes with a good documentation and a powerful and extensible SDK. By using AWS IoT Embedded SDK it’s possible to quickly connect any ESP32-powered device with the AWS IoT Core.
Need a sharper technical direction?
Bring the bottleneck, the workflow problem, or the modernization question. We will tell you what to do next.
Book a discovery call


